 |
Here are some FREE & Discounted events going on this weekend. Many may seem to have consistent national participation- but it is always wise to call your local location to be sure they are participating…
BARNES & NOBLE: Sunday, December 1st,... there will be a reading of Dr. Seuss’s How the Grinch Stole Christmas with Grinch themed activities, treats & more. Coming Soon! – On Friday December 6th at 7 pm there will be a reading of the Polar Express with Activities & holiday treats. Plus on select dates in November and December at 11 am – there will be fun activities and adopt an Elf/Name your elf at the The Elf on The Shelf Event
BASS PRO SHOPS: Santa’s Wonderland is thru Dec 24th! Bass Pro Shops is hosting FREE holiday Events daily including a FREE Photo with Santa, games, crafts & more
HOME DEPOT: Saturday, November 30th from 9 am to 12 pm. Kids can build a small toolbox for the holidays
MICHAEL’S: Check out Michael’s Kids Club for fun craft sessions for your child while you shop! For $2 per child, you can reserve 30 minutes of creative time. Sessions are held every Saturday and start every half hour from 10 am – 12 noon. Coming Soon! – Saturday, December 7th kids can make a fun Melted Snowman Ornament
Have a safe and fun week ahead from everyone at Kids Klutter!
kidsklutter.com
BARNES & NOBLE: Sunday, December 1st,... there will be a reading of Dr. Seuss’s How the Grinch Stole Christmas with Grinch themed activities, treats & more. Coming Soon! – On Friday December 6th at 7 pm there will be a reading of the Polar Express with Activities & holiday treats. Plus on select dates in November and December at 11 am – there will be fun activities and adopt an Elf/Name your elf at the The Elf on The Shelf Event
BASS PRO SHOPS: Santa’s Wonderland is thru Dec 24th! Bass Pro Shops is hosting FREE holiday Events daily including a FREE Photo with Santa, games, crafts & more
HOME DEPOT: Saturday, November 30th from 9 am to 12 pm. Kids can build a small toolbox for the holidays
MICHAEL’S: Check out Michael’s Kids Club for fun craft sessions for your child while you shop! For $2 per child, you can reserve 30 minutes of creative time. Sessions are held every Saturday and start every half hour from 10 am – 12 noon. Coming Soon! – Saturday, December 7th kids can make a fun Melted Snowman Ornament
Have a safe and fun week ahead from everyone at Kids Klutter!
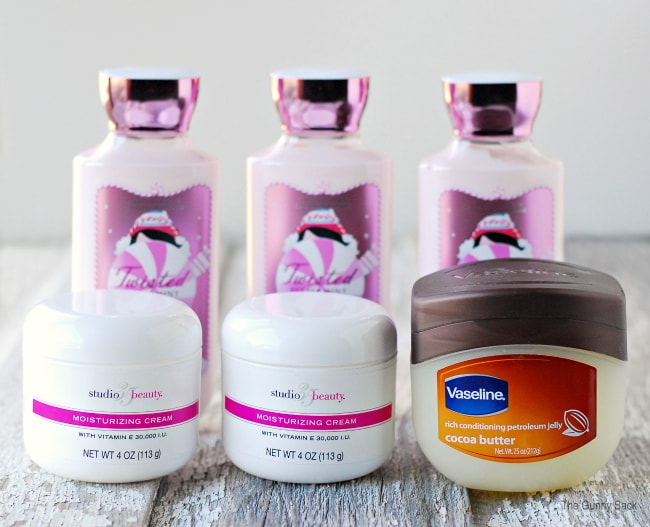
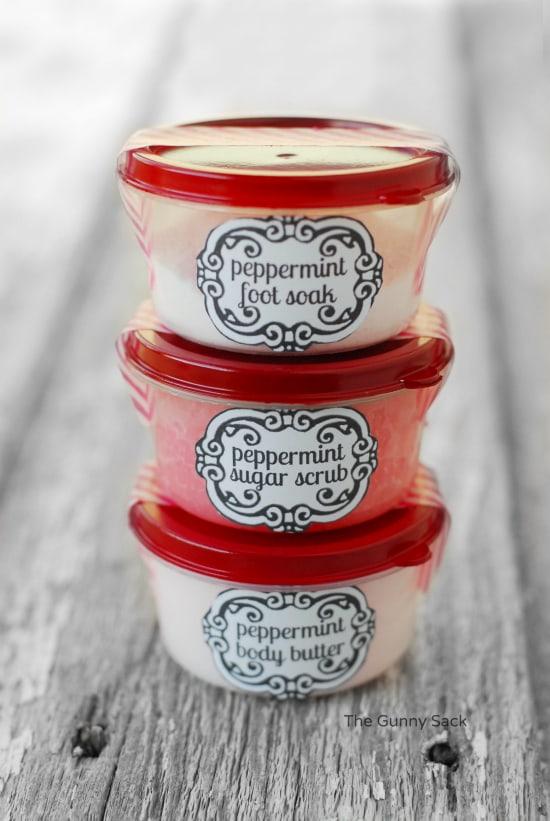
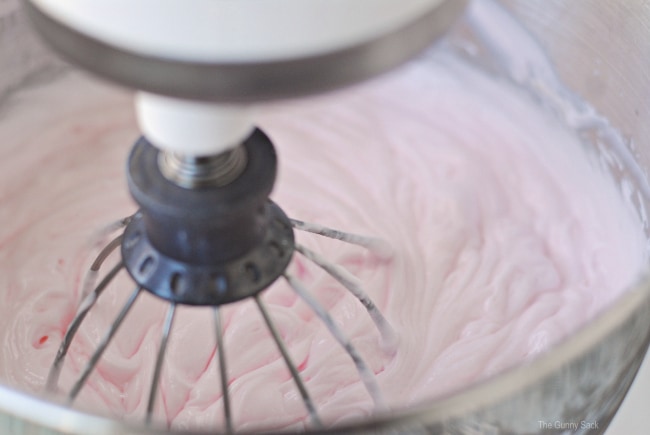 Put all of the ingredients into the mixer bowl and add 2 drops red food coloring, 5 teaspoons peppermint extract and 2 teaspoons vanilla extract. Whip everything together.
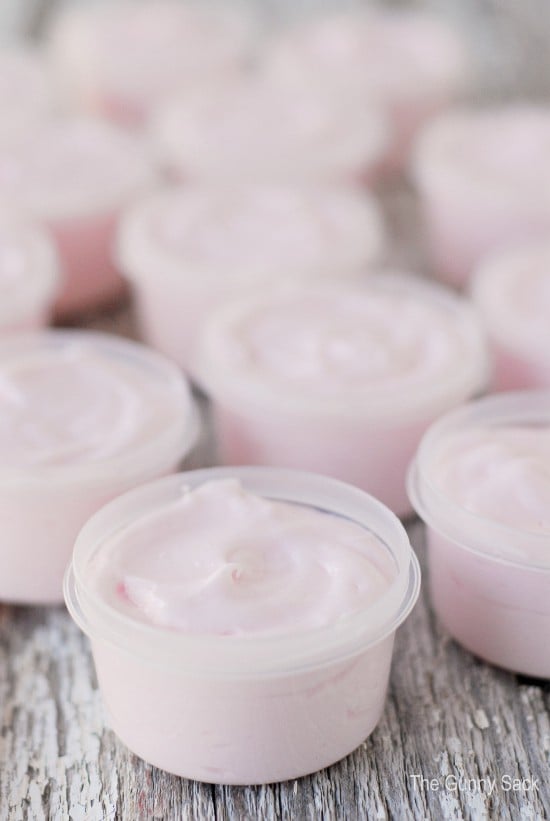 Fill up as many small containers as you need and put the rest into large containers. This recipe makes 48 oz of lotion. If you don’t need that much, cut the recipe in half.
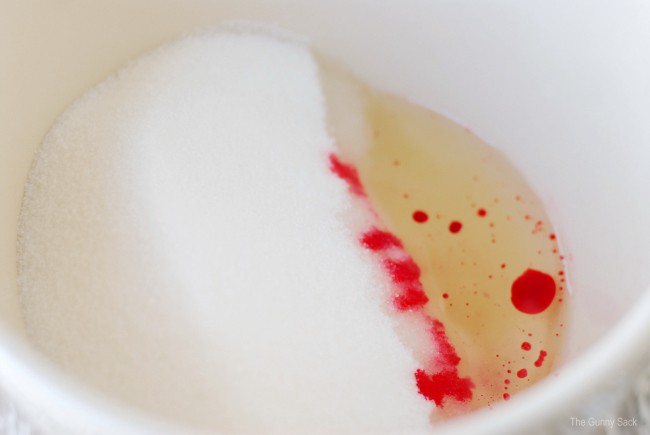 To make the peppermint sugar scrub, soften 1/2 cup of coconut oil in the microwave for 15 seconds. Add 1 1/2 cups of granulated sugar, 2 teaspoons peppermint extract and 2 drops of red food coloring.
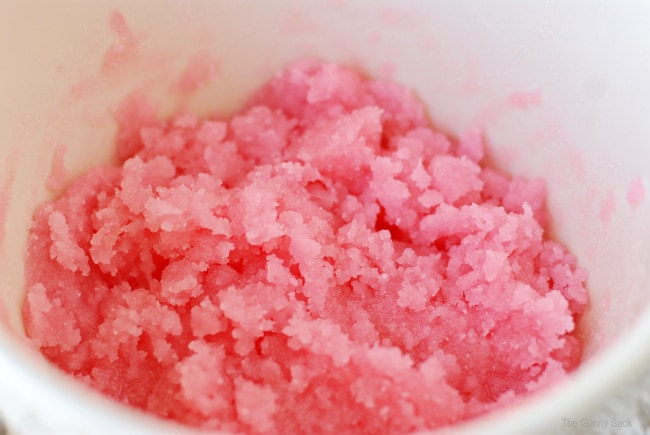 Mix everything until the color is evenly distributed.
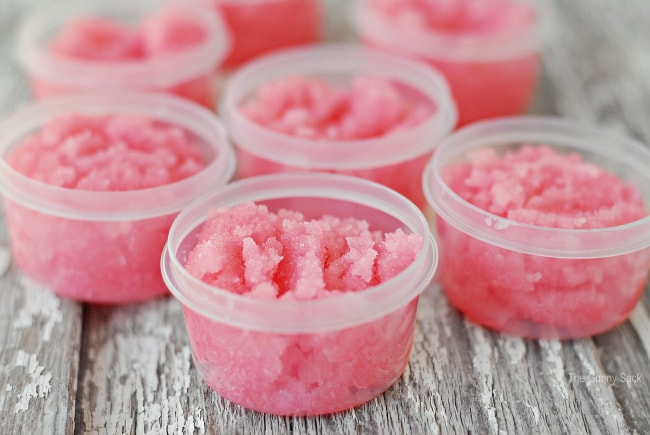 Fill containers with the sugar scrub.
 Next, I made some peppermint foot soak by mixing together 1 cup baking soda, 1/2 cup Epsom salt, 2 teaspoons peppermint extract and 2 drops red food coloring. Use a whisk to mix well. The extract made the mix a little wet so I poured it onto a piece of parchment paper and let it dry for 1/2 an hour.