Snowman in a Jar

Looking for a fun winter activity for your kiddos , have a play dough party!
The night before make 2 batches of white play dough and put in lots of silver glitter. The next day, set out the play dough and the rest of the supplies for your party.For the snowman’s face gather ribbons, small sticks, googly eyes, beads, pipe cleaner,fabric .once collected put them in a snack size zip lock for each of your guests.Roll the white play dough into balls and stuffed them in the jar, you might need to flatten the sides a bit to make it into a cylinder.
If your giving as a gift do the following:
After the 2 balls are in the jar top it off with the zip lock bags of supplies and put the lid on.
No Cook Edible White Play dough Recipe
- 2 cups flour
- 1/2 cup salt
- 2 tablespoons cream of tartar
- 1 tablespoon silver glitter (Optional. If you don’t put in glitter, this recipe is edible and if you do, this is not edible)
- 2 tablespoons vegetable oil
- 1.5 cups boiling water
How To Make Playdough
- In a bowl, mix the flour, salt, cream of tartar, glitter and oil.
- Add the boiling water (be very careful…this is best done by an adult).
- Stir until mixture becomes a sticky dough.
- When it’s cool enough to handle, take it out of the bowl and knead for a few minutes until it is a good consistency.
- It it’s too sticky, sprinkle a little bit of flour on the counter and knead it in.


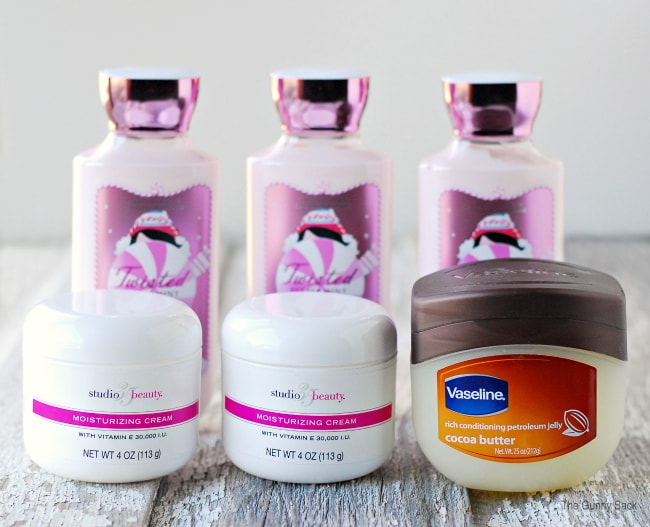
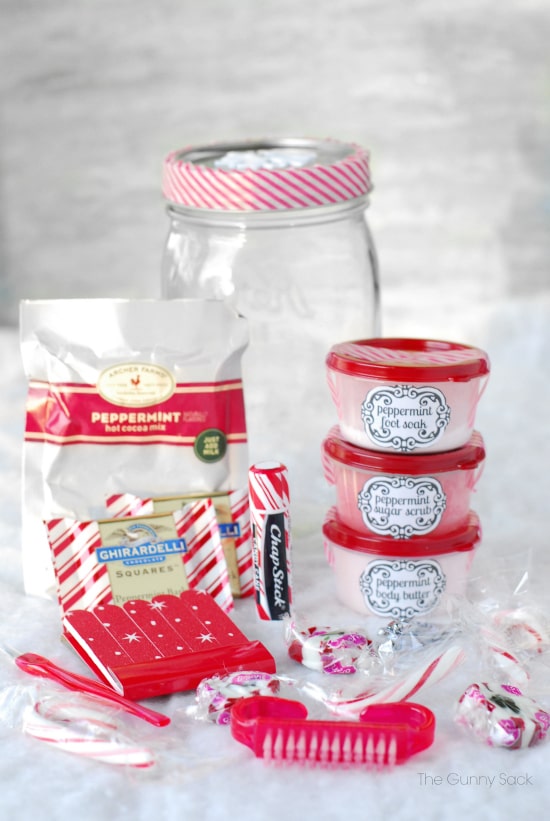
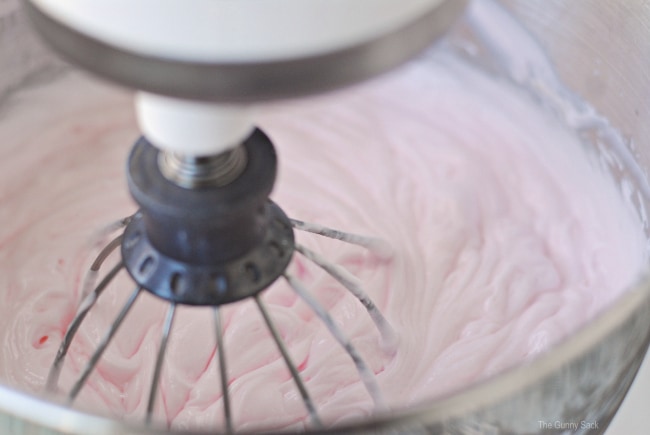 Put all of the ingredients into the mixer bowl and add 2 drops red food coloring, 5 teaspoons peppermint extract and 2 teaspoons vanilla extract. Whip everything together.
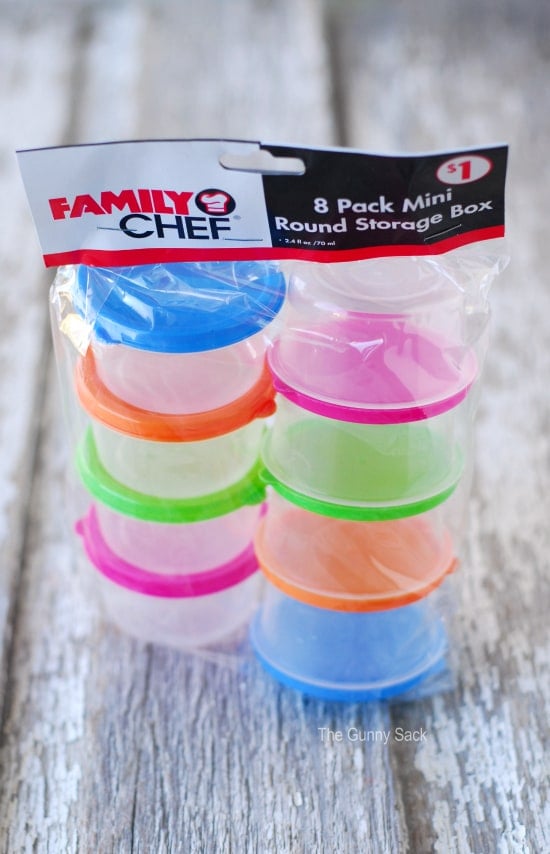
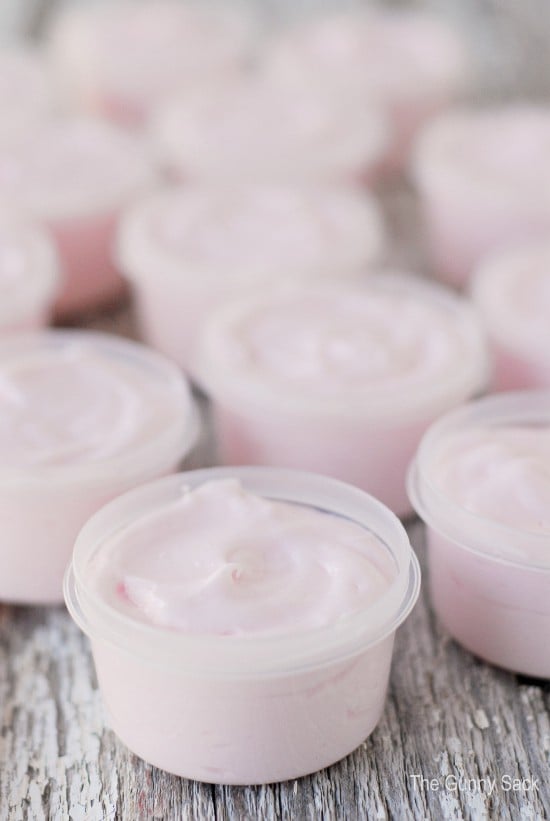 Fill up as many small containers as you need and put the rest into large containers. This recipe makes 48 oz of lotion. If you don’t need that much, cut the recipe in half.
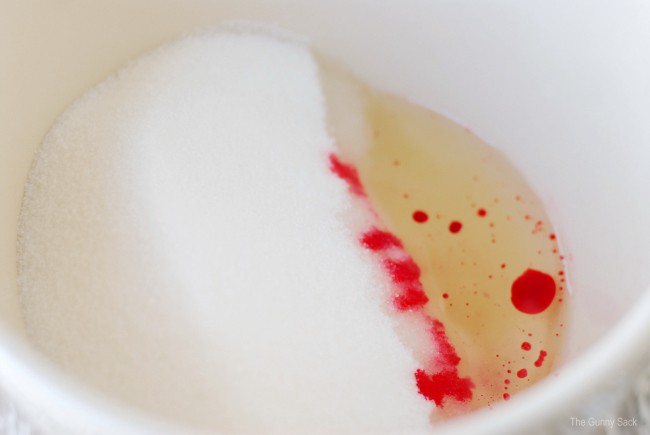 To make the peppermint sugar scrub, soften 1/2 cup of coconut oil in the microwave for 15 seconds. Add 1 1/2 cups of granulated sugar, 2 teaspoons peppermint extract and 2 drops of red food coloring.
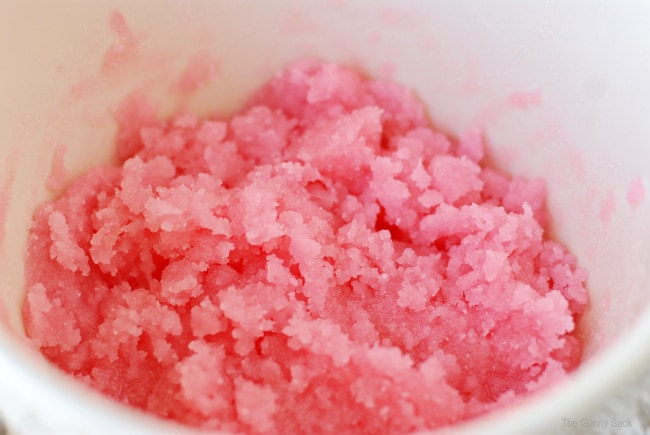 Mix everything until the color is evenly distributed.
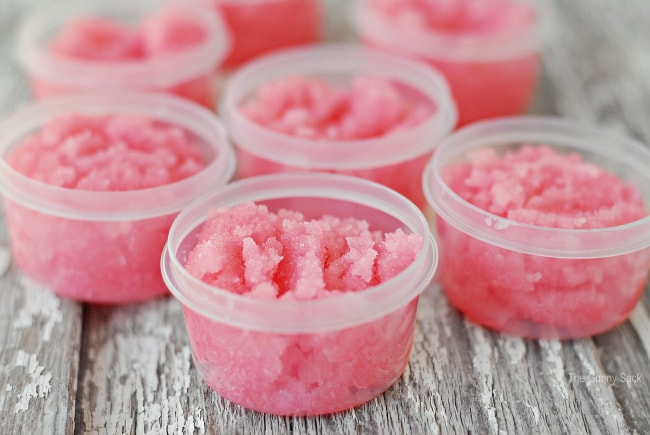 Fill containers with the sugar scrub.
 Next, I made some peppermint foot soak by mixing together 1 cup baking soda, 1/2 cup Epsom salt, 2 teaspoons peppermint extract and 2 drops red food coloring. Use a whisk to mix well. The extract made the mix a little wet so I poured it onto a piece of parchment paper and let it dry for 1/2 an hour.
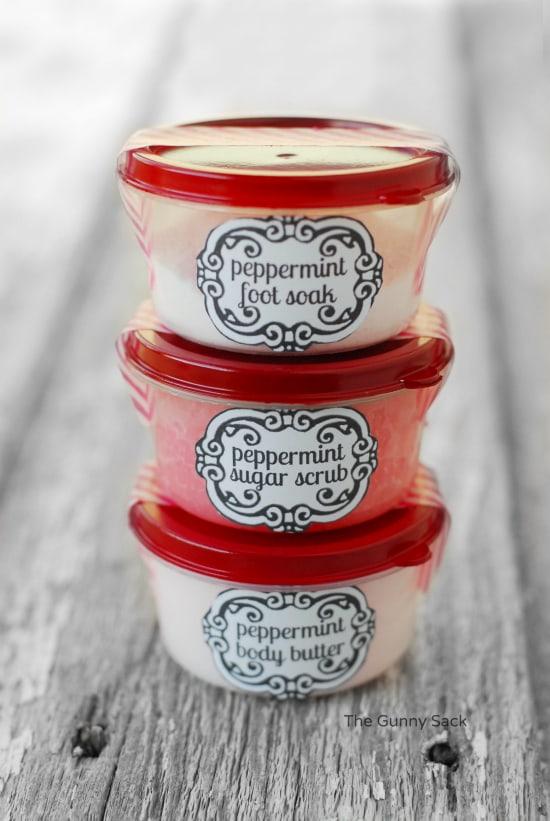


.jpg "Beach Sand cloud dough www.kidsklutter.com")